
Direct sunlight has two main benefits for product photography: it gives off plenty of highlights and it produces good shadows. With enough exposure, direct sunlight can create stunning sunrises and sunsets. The right light source is a photographer’s secret weapon. Your goal is to choose the best lighting for each individual product so that your viewers are able to properly assess the beauty and quality of your photographs.
What Are The Different Types of Light?
Light is one of the most important factors in photography. You can’t take great photos without good light and you can’t get good light without choosing the right type of light. In this article, we will explore different types of light and how to choose the best one for your product photography needs.
Photographers use a variety of light sources to create great photos. Each type of light has its own unique properties that can make a great photo look different. Let’s take a look at each type of light and see what they can do for your product photography:
Direct sunlight is the most popular source of light for product photography. It’s easy to find, cheap, and gives off a warm glow that looks great on products. However, you need to be careful with direct sunlight because overexposure will turn products into glowing silhouettes instead of realistic images.
How Does Light Affect Photography?
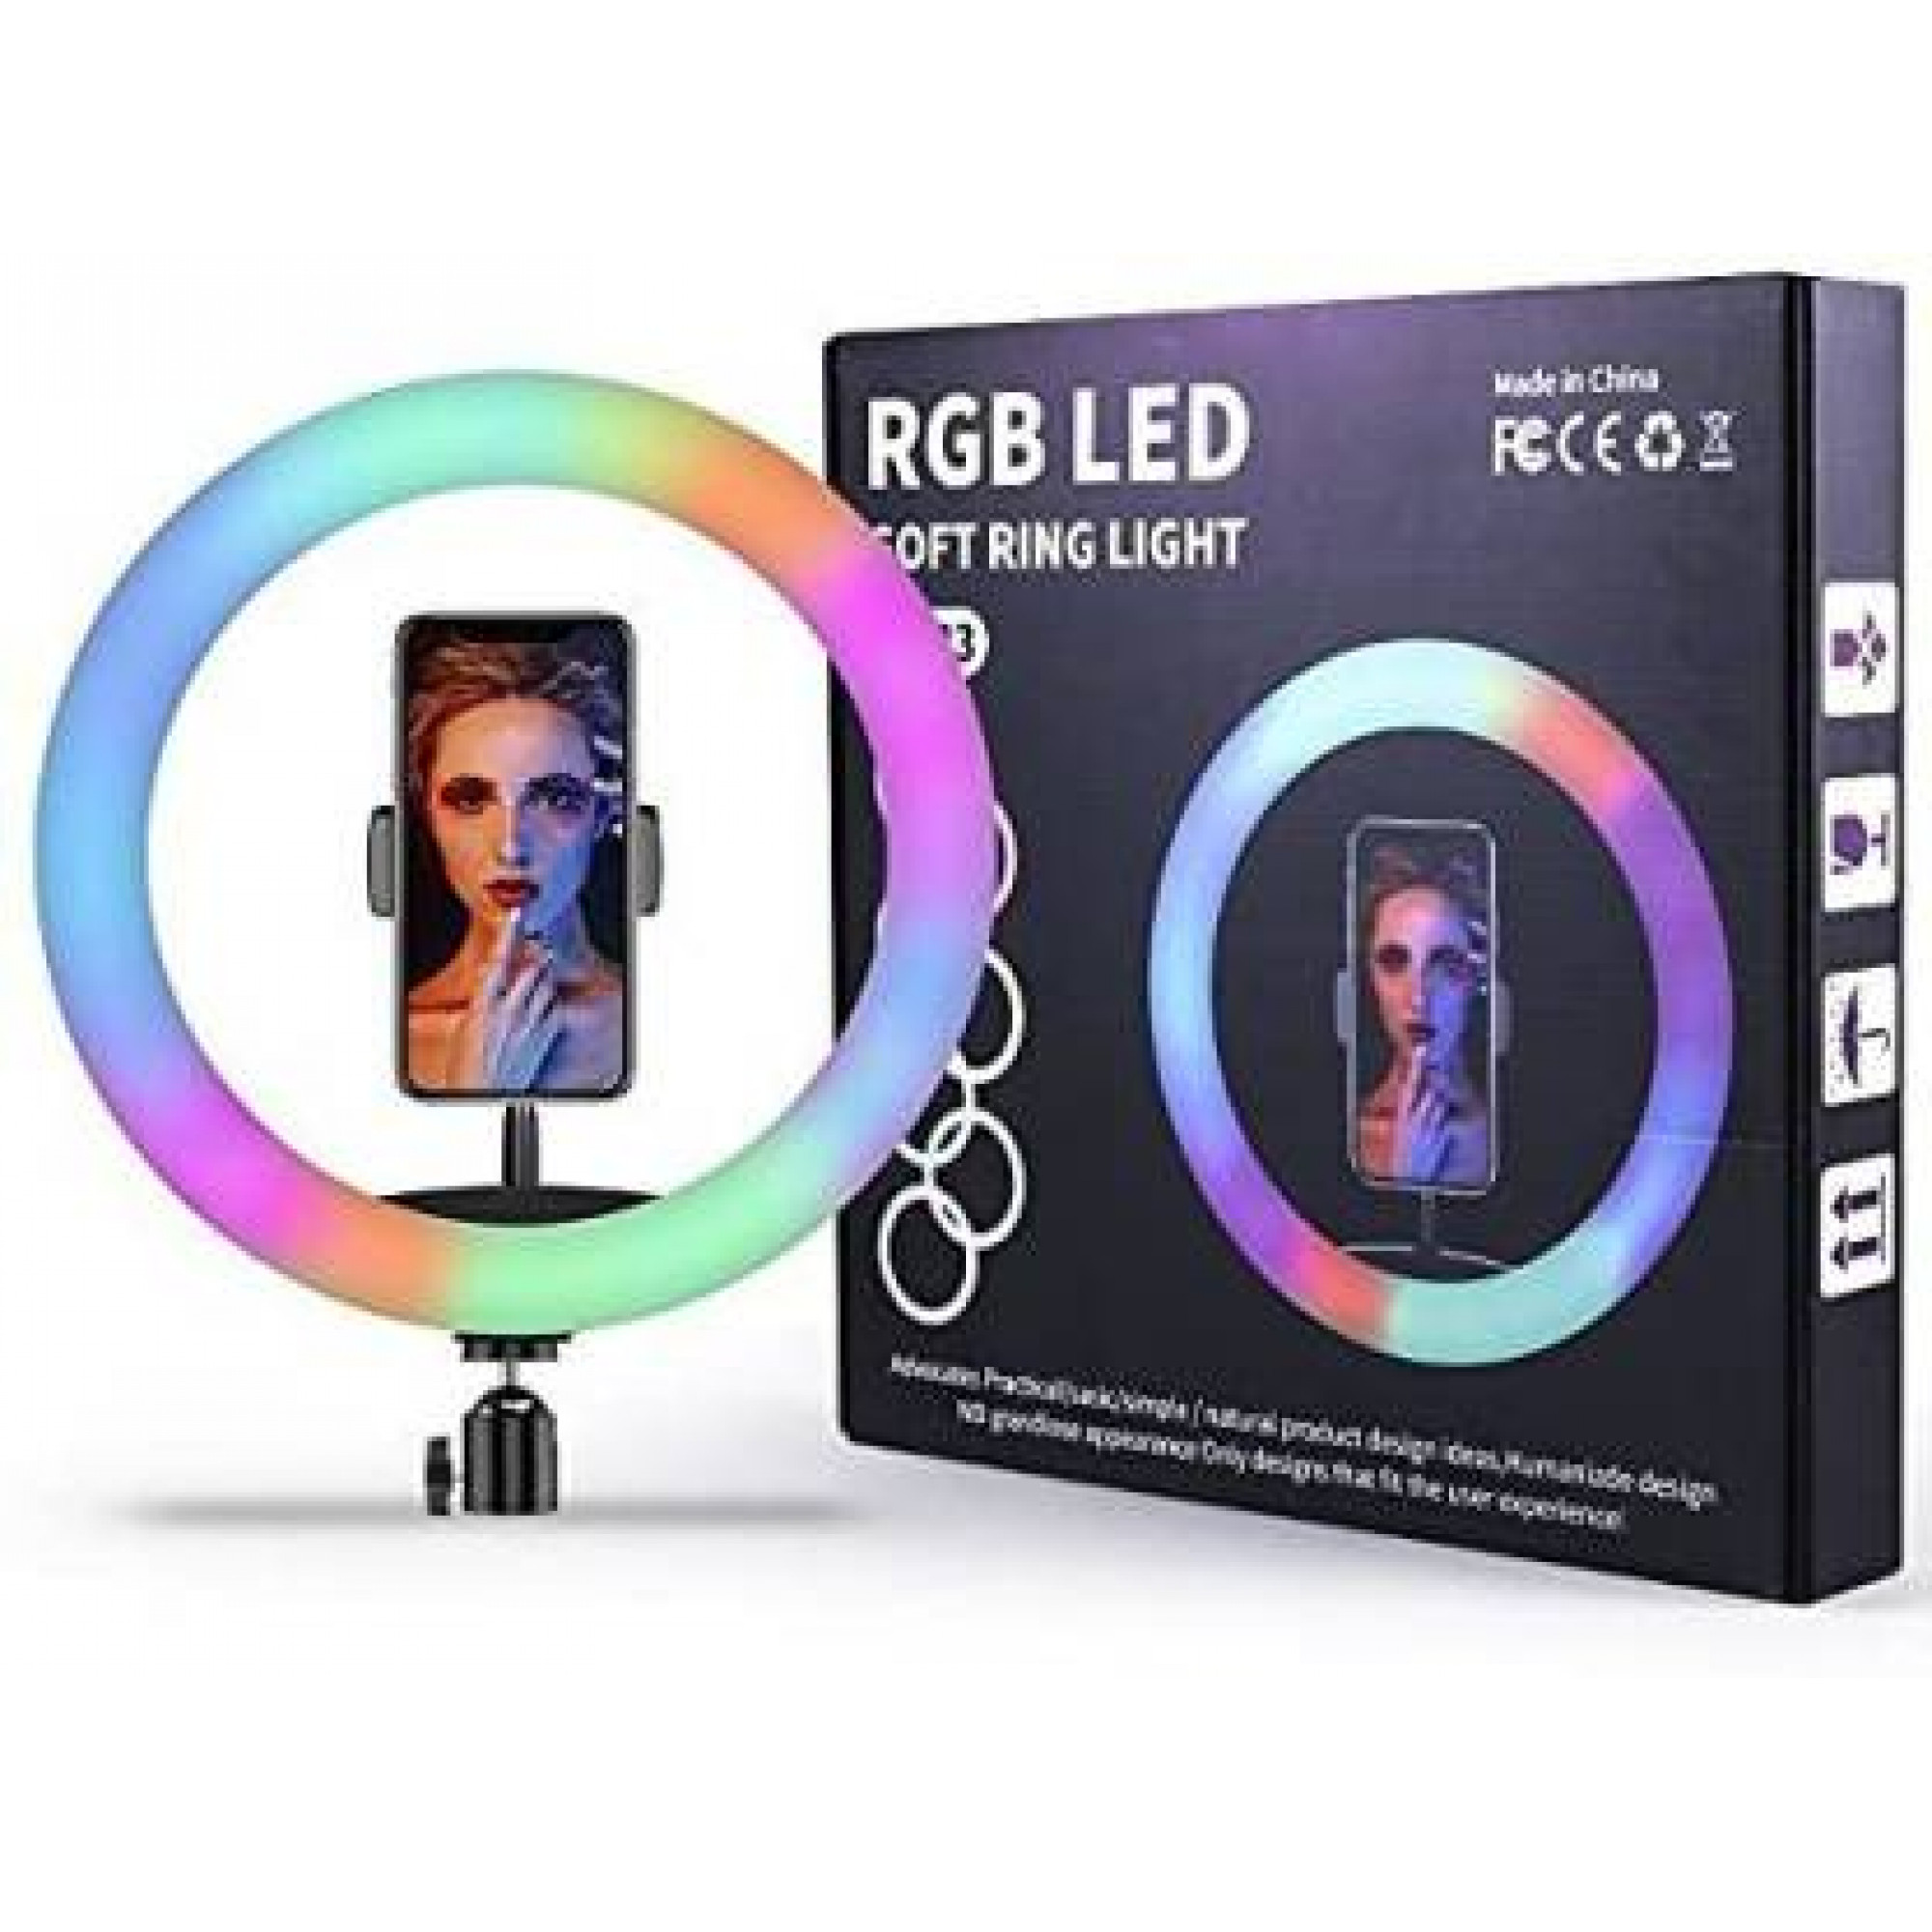
Choosing a light source for product photography can be tricky. In photography, there are a variety of light sources that can be used, making it difficult to determine which ones to choose. The appropriate light is important, not just any light. You can improve your photographs with the help of the LED ring light.
The three main types of light are direct sunlight, artificial light, and flash photography.
Direct sunlight is the most natural type of lighting, and it’s what you see when you step out into the sun. Sunlight is a harsh, bright light that can produce shadows and blemishes on the skin. It’s perfect for outdoor shots, but it can be difficult to work with if you’re shooting products indoors.
Artificial light comes from sources like lamps, flashguns, or portraits lights. It’s more versatile than direct sunlight, and it can be used for both indoor and outdoor shots. However, artificial lighting can produce unwanted reflections or shadows in photos. It’s also less natural than natural light, which can lead to less pleasing outcomes.
Flash photography uses quick bursts of light to produce an effect similar to daylight. This type of photography is best used when you need to capture a detailed or brightly colored image quickly.
Creating Product Photography Lighting
When it comes to creating product photography lighting, you’ll need to consider a few things. The first thing is the size of your product. If your product is large, you’ll need to use more light to get a good shot. If your product is small, you can use fewer lights and get a similar shot.
Secondly, think about the type of product. If you’re photographing a toy car, you’ll want different types of light than if you’re photographing a laptop.
Lastly, think about the theme of your product. For example, if you’re photographing an electronic device, you might want to use less light in the morning and more light in the evening.
What Lights Should I Buy for Product Photography?
Choosing the right light source for product photography can be a daunting task, but with a little research, you’ll be able to find the perfect solution for your needs.
If you’re just starting out, we recommend investing in a basic lighting setup that includes a light stand, modifier and light source. This will give you everything you need to start shooting products without having to make any major investments.
If you want to step up your game, we recommend checking out additional lighting options, like studio lights or flash units. These options can provide greater control over your lighting and help you achieve specific looks and effects.
Ultimately, the best way to choose the right light source for product photography is to experiment and take notes. Try different setups and see what works best for your images. With some trial and error, you’ll eventually find the perfect solution for your photography style.
What’s the Best Lighting Technique For My Product Shot?
There’s no right or wrong answer when it comes to lighting for product photography, as the main goal is to create a look that sells your product. However, here are four popular techniques that you may want to consider:
- Accentuating the Serious Stuff
When it comes to product photography, it’s important to choose shots that will show off key features and differences of your product. One way to do this is to light your product in a way that accentuates its most noticeable features. For example, focusing on the product’s front or back, highlighting key features like a logo or an attractive decoration, or using a warm light to create a more inviting atmosphere.
- Keeping Things Classic and Simple
For some products, a classic photo is what sells them. Product shots that focus on simple lines and shapes can be quite striking, especially if they contrast well with the intricate details of the product itself. To achieve this effect, use natural light or fill the room with soft light sources to make things look more inviting.
Conclusion
It can be tricky to choose the right light source when you’re photographing products. Depending on the product and the angle that you’ll be shooting from, different light types will give your photos a different look and feel. In this article, I’ve outlined four different types of light sources that are perfect for product photography, as well as some tips on how to choose which one is best for your particular shots. So whether you’re looking to capture an ethereal shot or get a more realistic representation of your product, take a look at these options and pick the one that suits your needs the best!